How to Authenticating into a Windows Endpoint as a Local User?
Checkout Users
How to Checkout an Endpoint User to a Wallet for Secure Access?
- Login to Authnull Admin Dashboard
- Log in to your Authnull admin dashboard.
- Navigate to the “Privileged Access Management” section.
- Checkout Endpoint User
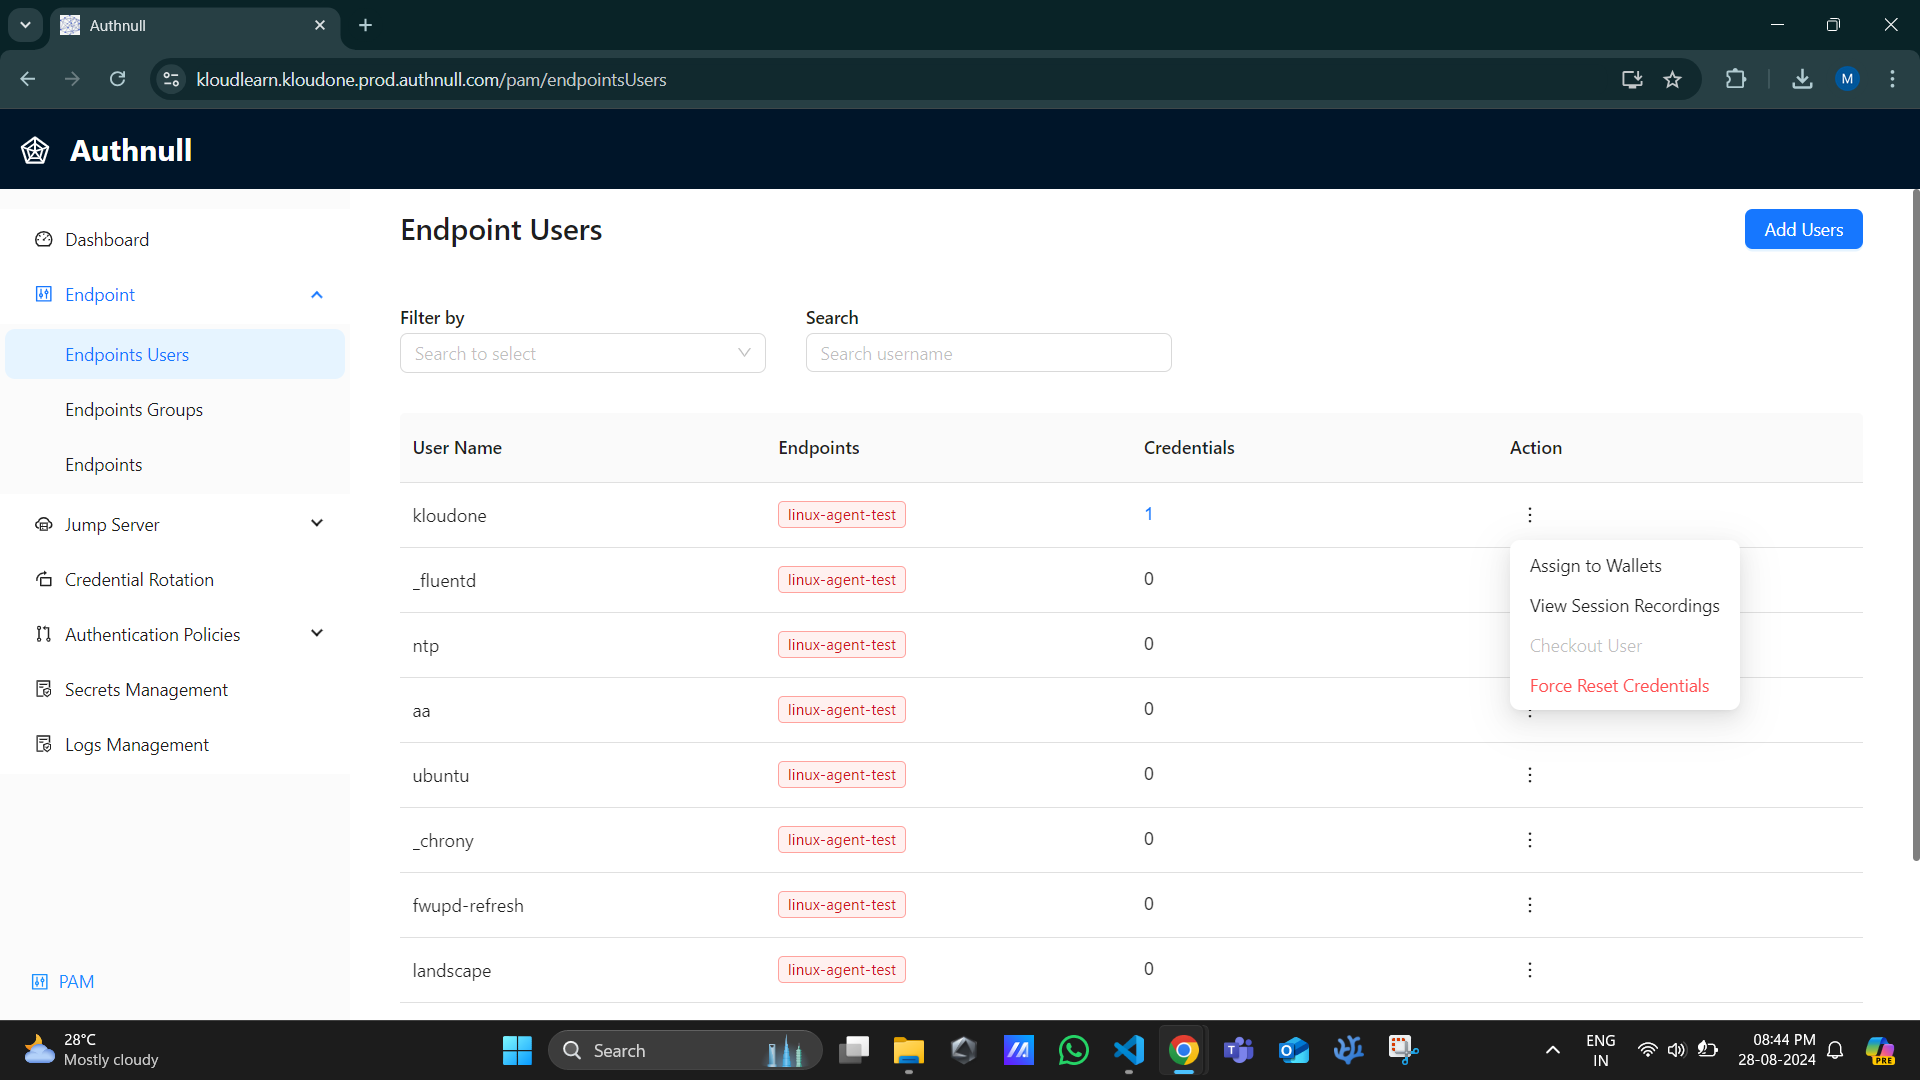
- Access the “Endpoint User List” from the menu.
- Locate the user you wish to manage and click on the “Checkout User” option available in the dropdown under the “Action” column.

- Specify Assignment Time Limit
- Specify the assignment time limit for the verifiable credentials.
- Select Protocol
- Select the RDP protocol or service you want to create a connection for using the jump server.
- Checkout to Wallet
- Check out the endpoint user to a designated wallet assigned to another directory user or your own wallet.
- Upon completion, the verifiable credentials will be received in the designated wallet.
Using the Connections to Connect via RDP
- Access Connections
- In the “Connections” screen within the “Privileged Access Management” section, select the desired connection and click on “Connect Now.”
- Accept Login Request
- Upon attempting to access a connection, you’ll receive a login request. Click “Accept” to proceed.
- A window will open, allowing you to connect to the endpoint using the assigned credentials provided by the admin. Utilize the endpoint as needed.
Connecting directly
Alternatively - you can directly use RDP and type in the username and password (now available in your wallet) if you have access to the windows local admin accounts.