MFA Provider and Users
Before anyone can connect, the organization needs an MFA provider, and each user who will connect needs to be enrolled with it.
Step 1: Choose the MFA Provider
Go to Settings → MFA Provider and choose the provider that sends the push:
| Provider | What to enter | How users enrol |
|---|---|---|
 AuthNull Authenticator AuthNull Authenticator | Nothing | Each user registers the AuthNull Authenticator app from an invite (Step 3) |
 Duo Security Duo Security | API hostname, Integration key, Secret key | In Duo |
 Okta Verify Okta Verify | Okta org URL, API token | In Okta, with Okta Verify |
Only one provider is active at a time.
Without an MFA provider, every database login is refused.
Step 2: Add Users
The users who will connect must exist in the console.
- One by one or in bulk: go to Users, click Add Users, and choose Add User or Import Users. Invited users receive an email to set their password.
- From a directory: go to Identity Provider → Add Identity Provider and choose Active Directory or EntraID.
Users sign in to the console at /ssc/signin. On first sign-in they set up a sign-in factor: an authenticator app code (TOTP, scanned from a QR code, with recovery codes) or a passkey.
Step 3: Enrol Users with the Provider
AuthNull Authenticator: in the user's row on the Users screen, open the ⋯ menu and choose Register device. Then either Send by email, or Show invite to display a link and QR code the user scans with the AuthNull Authenticator app. The invite works once and expires after 7 days. The user's status changes from Invite pending to Enrolled; use Re-issue invite if it expires.
Okta Verify or Duo Security: users enrol in Okta or Duo. Their account there must use the same email address as their AuthNull console account - that is how the push is routed.
Step 4: Switch to the Database Product
Open the product switcher at the top of the sidebar (Switch product) and choose Database. The sidebar then shows Dashboard, Databases, Agents, Users, Policies, and Connections.
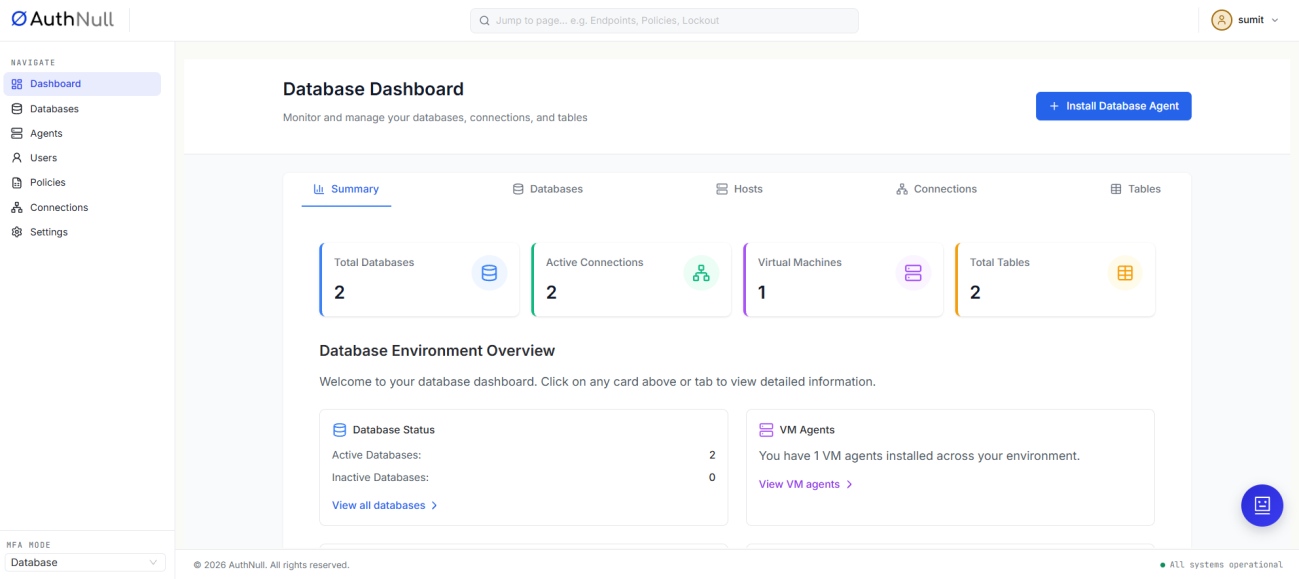
Database Dashboard
Next Steps
Continue to Agent and ProxySQL to install the database agent.